
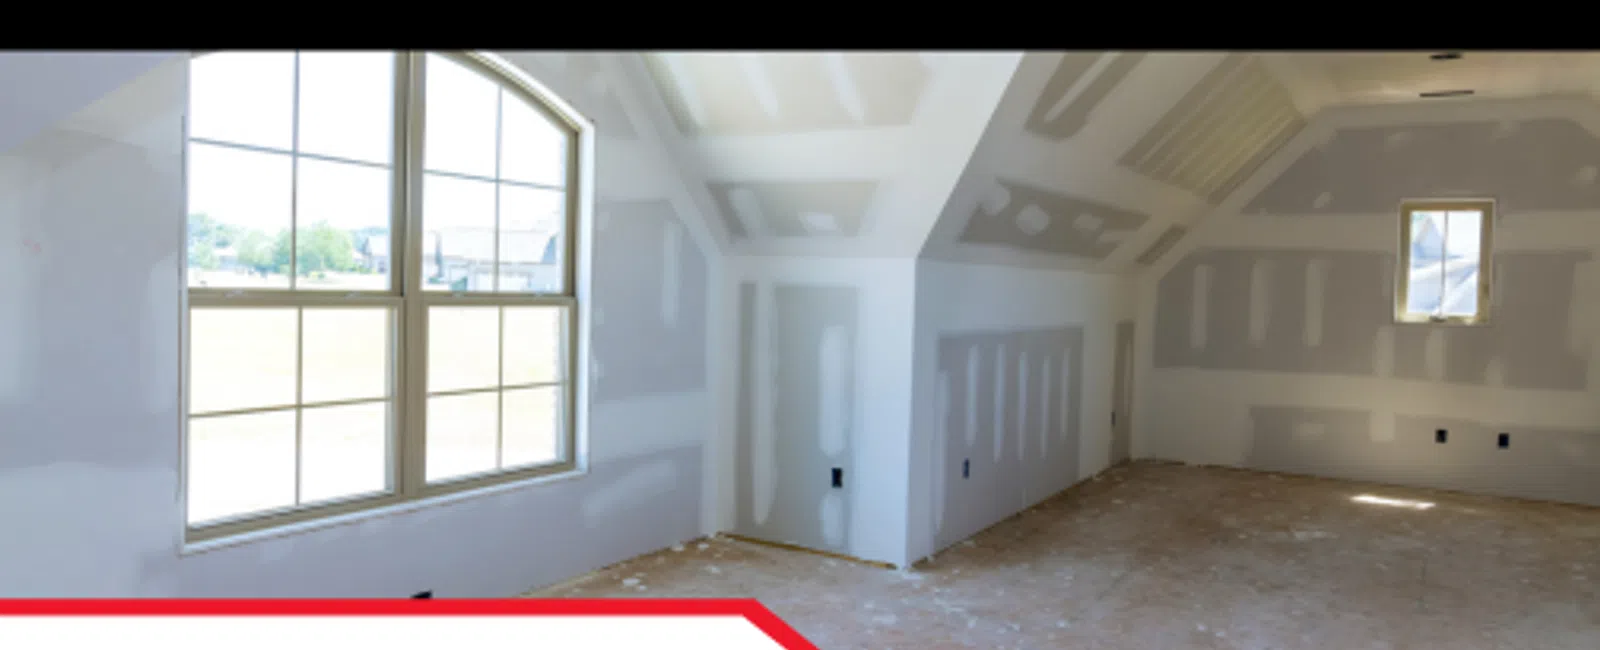
Building a new home is an exciting process, but many of the property's most important components are visible for only a short period. Before insulation and drywall are installed, the framing, exterior weather barrier, window flashing, structural connections, and other construction details remain exposed. Once the walls and ceilings are closed, many of these areas become difficult or impossible to evaluate through a standard visual inspection.
A pre-drywall inspection gives a buyer an opportunity to have the accessible construction reviewed during this critical stage. It does not replace the builder's quality-control process, municipal inspections, or the final home inspection. Instead, it adds an independent set of eyes while the structure is still open and corrections may be easier to complete.
During a pre-drywall inspection in the Chattanooga area, Licensed Inspector Jared W. documented several visible conditions that demonstrate the value of this timing. His observations included torn house wrap, joints that needed to be retaped, window flashing and tape concerns, improper relationships between weather-barrier materials and flashing, damaged areas of the foundation, damaged framing and gussets, and missing rafter ties.
These examples provide practical lessons for anyone building a home in Nashville, Chattanooga, Atlanta, Charlotte, Raleigh, Greensboro, Greenville, Savannah, Charleston, or another Southeastern community. Through detailed Southeastern Residential and Commercial Inspections, LunsPro Inspection Group and its Licensed Inspectors help clients better understand visible conditions before major components are concealed.
What Is a Pre-Drywall Inspection?
A pre-drywall inspection is performed after much of the home's structural framing and rough-in work has been completed but before insulation and drywall cover the interior walls and ceilings.
At this stage, an inspector may be able to view accessible portions of:
- Wall and roof framing
- Structural connections
- House wrap and weather barriers
- Window and door openings
- Exterior flashing details
- Foundation surfaces
- Plumbing rough-ins
- Electrical wiring
- HVAC ducts and related components
- Fasteners, ties, clips, and gussets
The exact scope depends on how far construction has progressed and which areas are safely accessible. The purpose is to document visible conditions while the building remains open.
Once drywall is installed, many framing members, connections, penetrations, and moisture-control details are hidden. This does not mean they can never be evaluated again, but inspection becomes considerably more limited.
Why Timing Is So Important
Construction moves quickly, particularly in growing Southeastern housing markets. A home may progress from exposed framing to insulation and drywall within a short period.
That means buyers should coordinate the inspection with the builder or construction manager so it takes place after the major rough-in work is complete but before the walls are closed.
Scheduling too early may mean important systems have not yet been installed. Scheduling too late may mean the components the buyer wanted reviewed are already concealed.
Good communication is essential. Buyers should ask the builder when the property will be ready for a pre-drywall evaluation and how much notice is required for access.
House Wrap and Moisture Management
One of the first conditions Jared identified was damaged house wrap.
House wrap is a water-resistive barrier installed over exterior wall sheathing and behind the final cladding. Its purpose is to help manage water that passes through or behind the exterior siding system while also limiting unwanted air movement, depending on the product and installation.
The material must be installed as part of a complete drainage system. Its effectiveness depends on details such as:
- Proper overlaps
- Sealed tears
- Taped seams
- Correct integration with windows and doors
- Proper placement behind flashing
- Secure attachment
- Continuity around penetrations
Jared observed tears in the house wrap and joints that needed to be retaped. He explained that the tears and seams should be appropriately taped and overlapped to reduce the chance of moisture moving behind the barrier and into the wall assembly.
A small tear may appear unimportant while the wall is open, but the area will soon be covered by siding on the exterior and insulation and drywall on the interior. Correcting the barrier before concealment helps preserve the intended drainage path.
Why Overlapping Materials Correctly Matters
Weather-resistant construction relies heavily on the principle of drainage. Materials should generally be arranged so water flows downward and outward rather than behind lower layers.
This is often compared to roof shingles. Each upper component overlaps the component below it so water naturally sheds toward the exterior.
When house wrap, tape, and flashing are installed in the wrong sequence, water may be directed behind the weather barrier instead of away from the building.
Correct overlap is particularly important in the Southeast because homes regularly face:
- Heavy rainfall
- Wind-driven rain
- Thunderstorms
- High humidity
- Tropical weather in some markets
- Repeated wetting and drying cycles
Moisture-management details that appear minor during construction can influence how the wall performs once the home is occupied.
Window Flashing and Tape
Jared also discussed the flashing and tape around the window opening.
Windows interrupt the continuity of the exterior wall, which makes their installation details especially important. The rough opening must be integrated with the surrounding weather barrier so water is directed away from the opening rather than trapped behind the materials.
Based on Jared's explanation, the lower flashing should extend over the appropriate part of the window assembly and continue behind the vertical side pieces. The vertical flashing should overlap the lower section, and the upper or head flashing should extend across the vertical sections and integrate correctly with the house wrap.
This layered arrangement is intended to allow water to drain down and away from the window.
Improperly installed flashing may create pathways where water can move into the wall. The exact result depends on the complete assembly and exposure conditions, but visible gaps, poor overlaps, or incorrectly layered materials deserve attention before the exterior is finished.
The Head Flashing Detail
The upper portion of a window is particularly important because water moving down the wall must be directed over and around the opening.
The head flashing should work with the house wrap and side flashing rather than against them. When these materials are installed in the wrong order, water may become trapped behind the barrier.
Jared emphasized that the headpiece should extend over the vertical sections and be integrated so water can weep and drain appropriately away from the window.
This is a good example of why pre-drywall inspections are not limited to framing. A new home's long-term performance also depends on the small transitions where multiple materials meet.
Roof-to-Wall Flashing and House Wrap
Jared applied the same drainage principle to headwall, step, and sidewall flashing.
These flashing components are used where roof surfaces meet vertical walls. Their purpose is to direct water away from vulnerable intersections.
The house wrap should be integrated with the flashing so water does not become trapped behind the weather barrier. If the wrap is positioned incorrectly, drainage may be interrupted and moisture may move toward the wall assembly.
Roof-to-wall intersections can be difficult to evaluate after the exterior cladding and roofing are complete. Reviewing visible integration during construction provides a valuable opportunity to document concerns while materials remain accessible.
Foundation Damage Before Completion
The inspection also revealed damage to portions of the foundation that Jared indicated should be patched and sealed.
Foundation surfaces may be damaged during construction by equipment, tools, material handling, or later trades working around the structure. Some defects may be superficial, while others deserve closer evaluation based on their size, depth, location, or effect on the surrounding assembly.
An inspector documents the visible condition rather than assuming the cause or structural significance. When patching, sealing, or specialized evaluation is appropriate, the recommendation can be addressed before landscaping, exterior finishes, or interior walls make access more difficult.
Foundation penetrations and damaged areas may also relate to moisture control. Open gaps can create pathways for water, air, or pests depending on their location and construction.
Damaged Framing
Jared also observed damaged framing.
Framing forms the structural skeleton of the house. It transfers loads from the roof, walls, floors, and occupants toward the foundation.
Visible framing damage may include:
- Split lumber
- Improperly cut members
- Excessive notching or boring
- Broken components
- Damaged connectors
- Missing fasteners
- Members displaced from their intended position
Not every mark or split has the same importance. Lumber is a natural material, and minor checking or surface imperfections can occur. However, damage affecting the strength, connection, or intended function of a member should be reviewed before concealment.
Once drywall is installed, damaged framing may no longer be visible. This is one of the strongest reasons to complete an independent inspection at the pre-drywall stage.
Damaged Gussets
Gussets are connection components used to join structural members. In roof trusses, metal connector plates are commonly pressed into the lumber at engineered joints.
Jared identified damaged gussets during the inspection. A damaged connector is important because the connection is part of the designed truss assembly.
Trusses should not be altered, cut, repaired, or modified without appropriate guidance. When a connector or truss component is damaged, the builder may need to consult the truss manufacturer, engineer, or another qualified professional for an approved repair detail.
A pre-drywall inspection makes these concerns visible before ceiling materials conceal the lower sections of the roof framing.
Missing Rafter Ties and Structural Connections
The transcript refers to missing "raptor ties," which is understood in context as missing rafter ties or related framing connections.
Rafter ties and other structural connectors help resist forces within roof and wall assemblies. The exact function depends on the framing design, but missing required ties or connectors may affect how loads are transferred and how the structure resists movement.
Inspectors may look for visible conditions such as:
- Missing ties
- Missing clips
- Incomplete fastening
- Improper connector placement
- Damaged hardware
- Loose structural connections
The inspector does not redesign the structure during a home inspection. The role is to identify visible irregularities and recommend appropriate review or correction when necessary.
Why New Construction Still Needs Independent Review
A common misconception is that a new home does not require an inspection because it has already been reviewed by the builder and local authorities.
Those reviews are important, but they serve different purposes.
Municipal inspectors generally evaluate compliance with applicable requirements at specific construction stages. Builders and site supervisors conduct their own quality-control reviews. An independent home inspector evaluates the visible property from the client's perspective and documents conditions present at the time of inspection.
Each layer contributes value, but none guarantees that every visible issue will be identified.
New construction involves many trades working in sequence. One crew may damage work completed by another. A seam may remain untaped. A connector may be missed. A weather barrier may be torn after installation. An independent inspection provides another opportunity to identify these conditions.
Why Southeastern Homes Need Careful Moisture Details
Moisture management is especially important in Nashville, Chattanooga, Atlanta, Charlotte, Raleigh, Greensboro, Greenville, Savannah, and Charleston.
Although local climates vary, much of the Southeast experiences extended humidity, frequent rain, and strong storms. Coastal areas may also face wind-driven rainfall, while inland markets commonly experience intense thunderstorms.
Properly installed house wrap and flashing help the exterior wall manage water that reaches the drainage plane. These materials do not work independently. They must be integrated with windows, doors, roof intersections, and penetrations.
A torn barrier or incorrectly overlapped flashing detail may be difficult to see once siding is installed. The pre-drywall stage offers a valuable window for reviewing both exterior weather protection and interior structural conditions.
What Buyers Should Do Before the Inspection
Buyers planning a pre-drywall inspection can take several practical steps:
- Confirm the builder permits independent inspections.
- Ask when framing and rough-ins will be complete.
- Schedule the inspection before insulation and drywall installation.
- Confirm the inspector will have safe access to the property.
- Provide the report to the builder promptly.
- Request documentation of corrections when appropriate.
- Schedule a final inspection after construction is substantially complete.
The pre-drywall inspection is one part of a larger new construction review process. A final inspection remains important because many systems cannot be fully evaluated until utilities, fixtures, appliances, and finishes are installed.
The Value of a Final New Construction Inspection
Even after a thorough pre-drywall evaluation, buyers should consider a final inspection.
The final inspection can review visible and accessible portions of:
- Roofing
- Exterior finishes
- Electrical systems
- Plumbing fixtures
- HVAC operation
- Attic insulation
- Windows and doors
- Interior finishes
- Appliances
- Drainage and grading
Some defects develop or become visible after the pre-drywall stage. Other components are not installed until later. Together, pre-drywall and final inspections provide a more complete view of the construction process.
How LunsPro Inspection Group Helps New Home Buyers
LunsPro Inspection Group provides detailed inspection services for buyers building and purchasing homes throughout the Southeast. Through professional Southeastern Residential and Commercial Inspections, its Licensed Inspectors document visible conditions and explain why those details may matter.
During a pre-drywall inspection, that may include reviewing accessible framing, flashing, house wrap, foundation areas, structural connectors, and rough-in systems. The purpose is not to interfere with the construction process or make unsupported assumptions. It is to give the buyer clear, organized information while important components remain exposed.
For clients in Nashville, Chattanooga, Atlanta, Charlotte, Raleigh, Greensboro, Greenville, Savannah, Charleston, and surrounding markets, this additional review can support better communication with the builder and a clearer understanding of the home taking shape.
Practical Lessons From Jared's Inspection
Jared W.'s observations highlight several useful principles for new home buyers.
House wrap must remain continuous. Tears and open joints can interrupt the intended weather barrier.
Flashing must be layered correctly. Proper overlaps help direct water down and away from openings.
Windows are vulnerable transitions. The lower, side, and head flashing must work together.
Roof-to-wall intersections require careful integration. House wrap and flashing should not trap water.
Foundation damage should be addressed before concealment. Patching and sealing are easier while areas remain accessible.
Framing deserves a close look. Damage, missing connections, and altered components can be documented before drywall covers them.
Structural hardware matters. Gussets, rafter ties, clips, and fasteners are part of the complete assembly.
A pre-drywall inspection gives new home buyers a limited but valuable opportunity to see behind the future walls of their property. Before insulation and drywall conceal the structure, an independent inspector can evaluate visible framing, weather barriers, flashing details, foundation areas, and structural connections.
The conditions documented by Licensed Inspector Jared W. demonstrate why this stage matters. Torn house wrap, seams needing additional tape, window flashing concerns, improperly integrated weather-barrier materials, foundation damage, damaged framing and gussets, and missing rafter ties are all easier to identify and address while construction remains open.
For homeowners building in Nashville, Chattanooga, Atlanta, Charlotte, Raleigh, Greensboro, Greenville, Savannah, Charleston, and other Southeastern communities, the region's moisture and weather conditions make proper drainage details especially important. Good construction depends not only on major structural components but also on the way house wrap, flashing, framing, and connectors are installed together.
LunsPro Inspection Group supports informed buyers through detailed Southeastern Residential and Commercial Inspections performed by knowledgeable Licensed Inspectors. A pre-drywall inspection does not guarantee a perfect home, but it can provide useful documentation at the moment when many critical details are still visible.
Once the drywall is installed, the home may look much closer to completion, but many of its most important components will be hidden. Reviewing those areas beforehand helps buyers ask informed questions, communicate clearly with the builder, and move toward closing with a better understanding of how their new home was assembled.